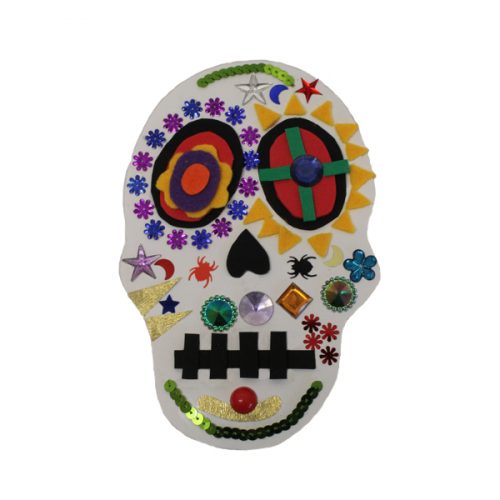
 Inspired by Día de Muertos or the Day of the Dead, this spooky skull DIY is perfect for crafting this Halloween.
YOU WILL NEED:
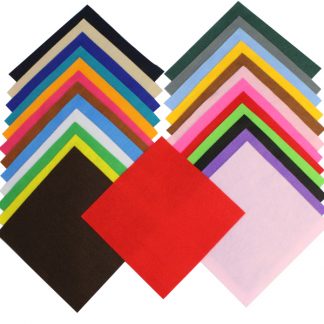
– White card or felt
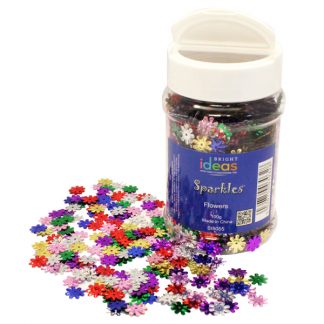
– Acrylic gems
– Felt
– Coloured paper
– Confetti
– Scissors
– PVA glue (or double-sided tape)
HOW TO MAKE:
- Cut out a simple skull shape from your white card or felt (approximately 20cm long).
- To make the eyes for the skull, cut two large oval shapes from black felt (approximately 7cm x 4cm).
- Stick the black eye sockets onto the skull so they are slightly angled out at the bottom.
- Now cut a heart shape from the same black felt – this will be the nose hole for the skull.
- Using your PVA glue, fix this upside-down between the eyes, approximately 3cm below the eyes.
- For the mouth, cut a long rectangle from black felt, approx. 8cm long by 1.5cm cm wide.
- Stick the rectangle mouth to the skull, approximately 5cm under the nose, using PVA glue or double-sided tape.
- To create the effect of teeth on your skull, cut small strips of felt (approx. 4cm long x 1cm wide).
- Space the teeth evenly apart across the width of the mouth shape.
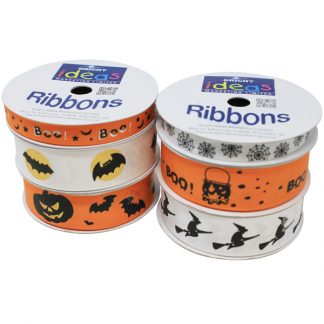
- Use a range of sequins, gems, pom-poms, ribbons, feathers, confetti, coloured paper to decorate your skull.
- Once you have finished, stick the skull to your door for a unique Halloween decoration like no other.
If you loved making this decorative Halloween skull, why not check out our other craft and project ideas?