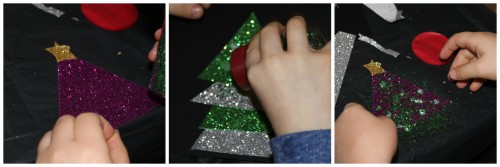
Firework Rocket ‘how to’ – I love this time of year. Cosy jumpers, scarfs and hats, the heating on at home, the crunch of the leaves as you walk down the path. However I also feel this season you can be so much craftier in the classroom/nursery room or even at home. This firework rocket ‘how to’ shows how you can create a simple bookmark, decoration or can be used as a perfect way to introduce different textures and craft methods to children. We had so much fun we even made Christmas trees as well!
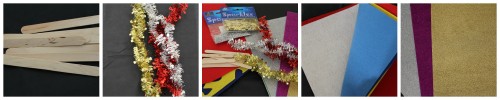
To begin we gathered all of the stuff we were going to need for create our Firework rocket. You can find a full list of materials used below (of course you can choose whatever you like to complete your look).
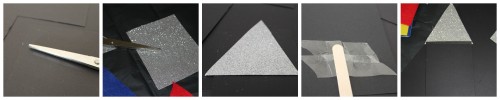
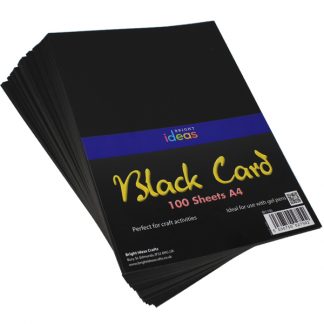
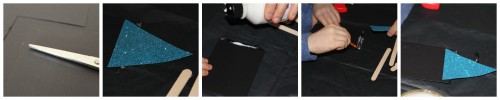
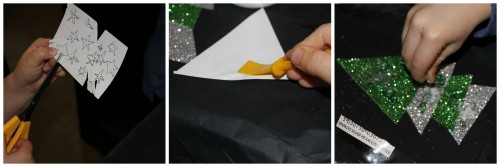
1) Using scissors, carefully cut out a rectangle any size you like on any of the paper you wish to use. We chose the black card for the body of our rocket.
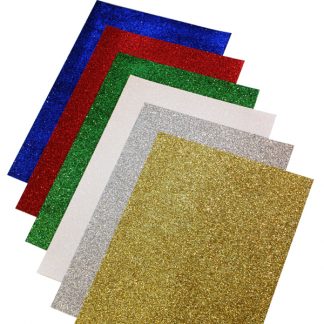
2) Using another coloured piece of paper (or felt or card) cut out a triangle. You can have the base of the triangle larger or the same size as the body of your rocket it really is up to you.
3) Using the sellotape stick the lollipop stick to the back of the black card making sure it is secure
4) Stick the triangle to the top of your card. We secured it at both the back and the front to make sure the tip of the rocket didn’t go floppy. You could also use glue for this part.

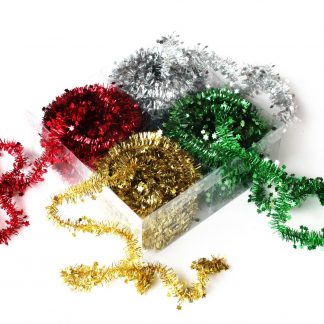
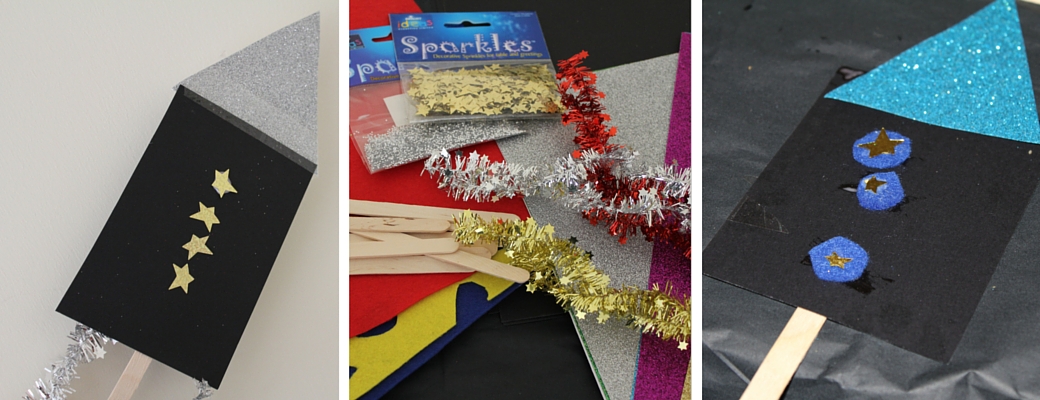
5) Next using the star garland we attached this to the back of the card next to the lollipop stick at a slight angle so it really did look like the sparkles coming out the end of the rocket.
6) That is the basic part of the rocket done. Next for the decoration- this part really as no limitation you can go crazy with glitter, glue, felt and sparkles. We chose some gold glitter stars and using glue we fixed them to the front of the rocket.
7) ZOOOOOOOM! And there you have a simple, easy yet effective Firework rocket ready for bonfire night.
We enjoyed this so much we decided to do another one;
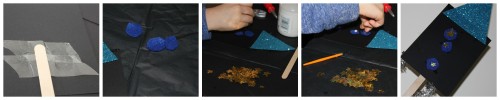
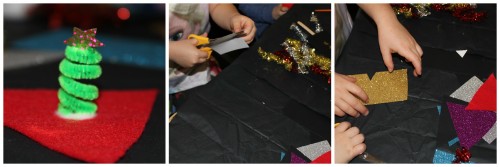
For this rocket we used felt circles and we glued the rocket tip on. Everything else was kept the same.
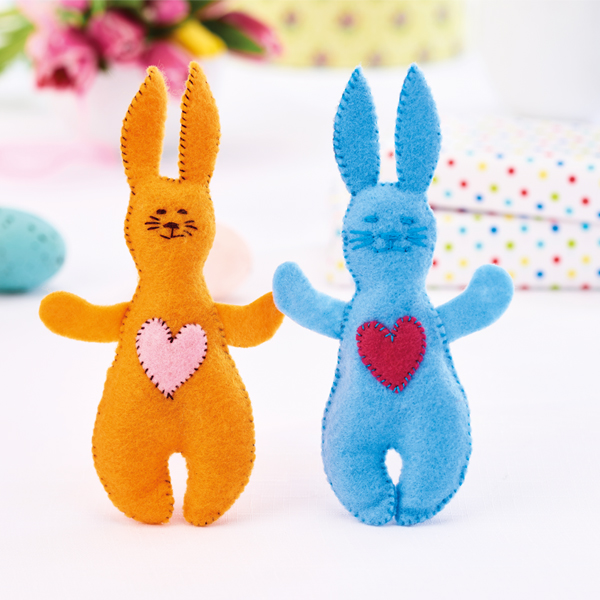
What else we got up to!
We hope you enjoyed this ‘how to’ we really did have so much fun.
Until next time – Stay Creative
The Bright Ideas Team x