Make a set of these adorable felt pine cone animal decorations this Christmas! Follow our How to Make instructions below.

To make these felt pine cone animal decorations, you will need:
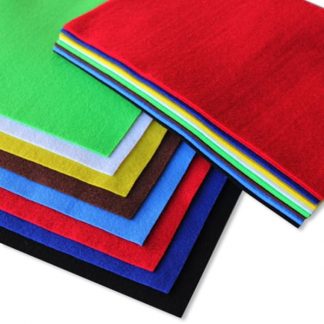
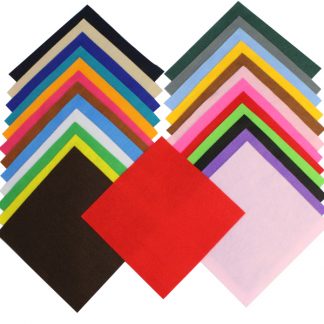
- Brown Felt Squares
- Pine Cones
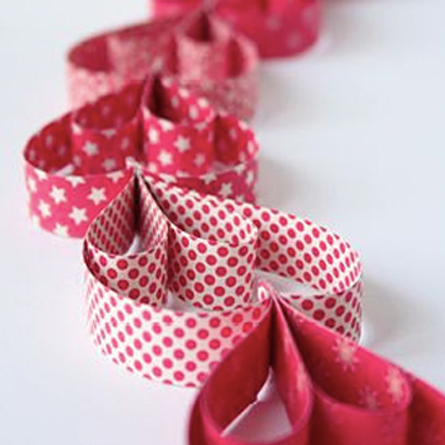
- Twine
- Glue Gun
- Black Tapestry Wool
- Needle
Now, here’s how to make each felt pine cone animal in the set:
Pine Cone Owl
- Take the brown felt and cut two wings, one head, one face and two sets of talons.
- Next take the face and place it on top of the head.
- Secure this by stitching two eyes onto the owl.
- Using the glue gun, attach the twine to the top of the pine cone to form a loop to hang the decoration.
- Now glue the head, wings and finally feet to the pine cone using the image as a guide.
- Voila! Your pine cone owl is ready to go on the tree.
Pine Cone Hedgehog
- Using the image as a guide take the brown felt and cut one face, two ears and two feet.
- Take the face and using the black tapestry wool, stitch two eyes and a nose.
- Using the glue gun, attach the twine to the top of the pine cone to form a loop to hang the decoration.
- Now glue the face, followed by the ears and finally the feet to the pine cone using the image as a guide.
- Voila! Your pine cone hedgehog is ready to go on the tree.
Pine Cone Squirrel
- Using the image as a guide take the brown felt and cut one face with ears, one tail, two arms and an acorn.
We used cream and dark brown felt pieces to create the acorn. - Take the face and stitch two eyes and a nose using the black tapestry wool.
- Using the glue gun, attach the twine to the top of the pine cone to form a loop.
- Next use the glue gun to attach the face, tail, acorn and finally arms to the pine cone using the image as a guide.
- Voila! Your pine cone squirrel is ready to go on the tree.
Pine Cone Bear
- Using the image as a guide take the brown felt and cut one face/head with ears, one nose and two arms.
- Take the felt face and place the nose over the top. Now, using the image as a guide, stitch two eyes and a nose.
- Next use the glue gun to attach the twine to the top of the pine cone to form a loop.
- Now glue the face, followed by the arms to the pine cone using the image as a guide.
- Voila! Your pine cone bear is ready to go on the tree.
Happy Crafting!
The Bright Ideas Team